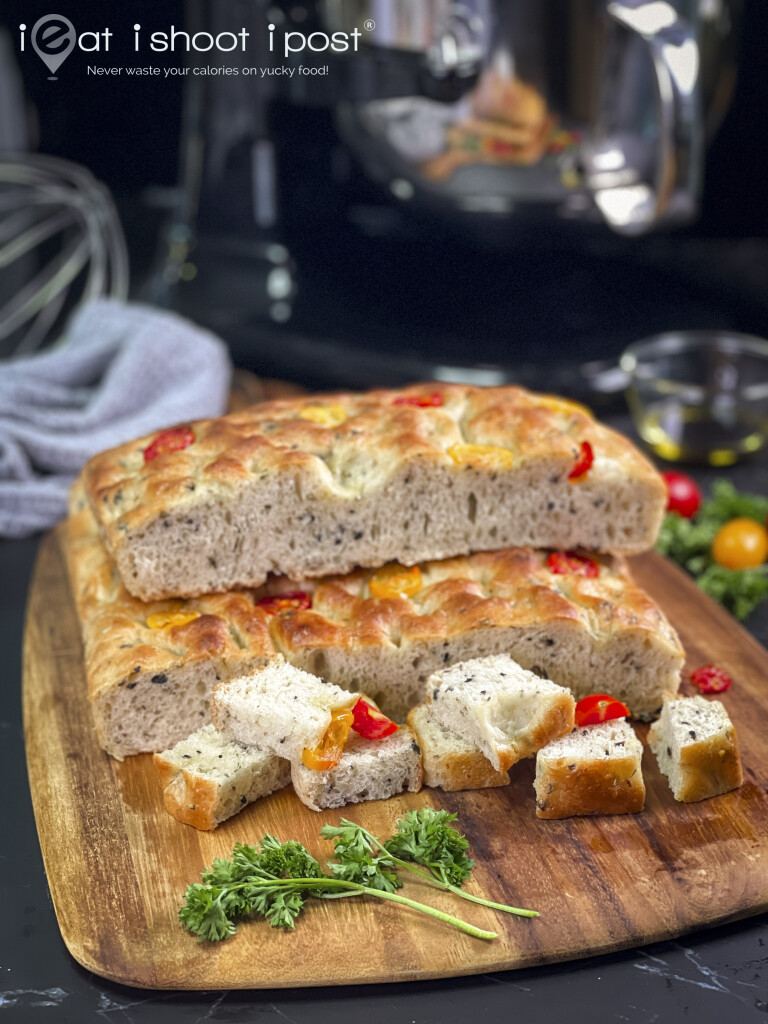
I am very excited to share with you this Focaccia Recipe which I learnt from a pastry chef after we had the most amazing Foccacia bread at her restaurant! The recipe is relatively easy but it has two components which is essential in creating the unique texture and flavour. The first is the use of an overnight poolish and the other is to add chopped olives and rosemary to the dough. Once it is baked, allow it to cool completely and just toast it for 10 mins just before serving. The crust is crisp, while the inside is tender, moist and oh so flavourful! I guarantee it is good enough to break your keto fast to enjoy it!
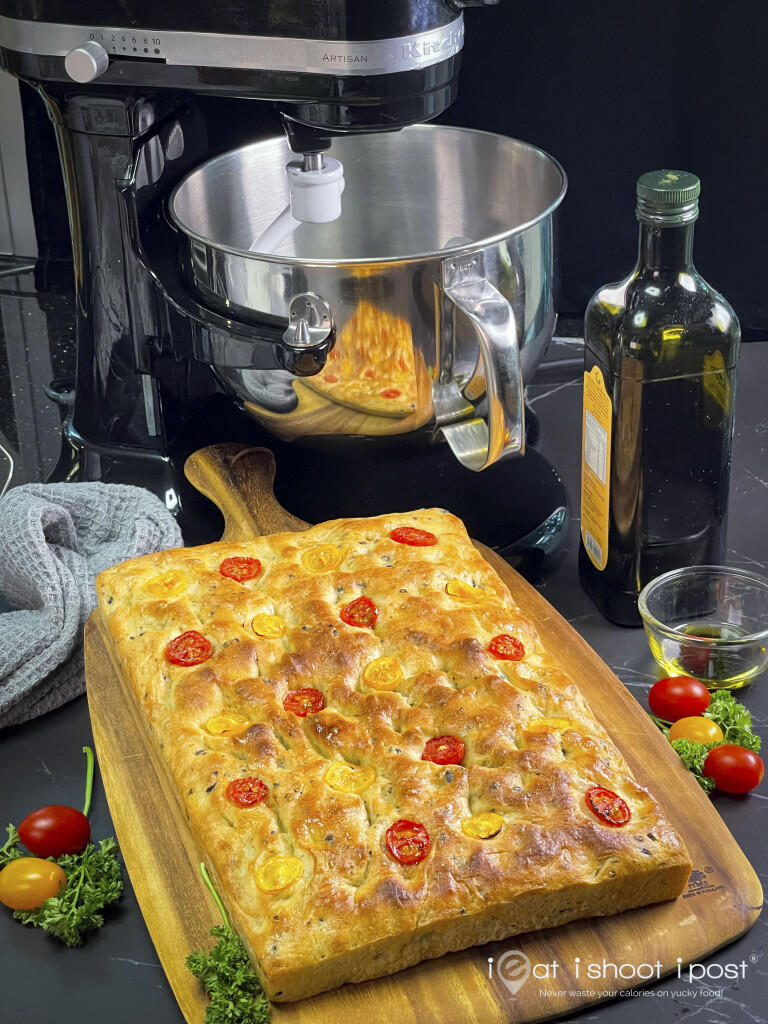
New KitchenAid 6 Quart (5.7L) Stand Mixer
The other thing I’d like to share with you is the newly launched KitchenAid 6 Quart Mixer! I have been using the KitchenAid 5 Quart Mixer since 2010 when I used it to publish my Pandan Chiffon Cake recipe. The mixer is still working, but I was attracted to the slightly larger size mixer employs a bowl lift instead of tilt head to set up the mixing bowl. I had been toying with the professional 7 Quart Mixer ever since I got into bread making but it really is more like commercial machine and only comes in white! This 6 Quart machine is perfect for semi-pro bakers or if you make a lot of bread as the motor is stronger and the fixed head means the machine is more stable and can easily handle a larger quantity of bread dough. It also comes in 4 colors which makes it more home friendly.
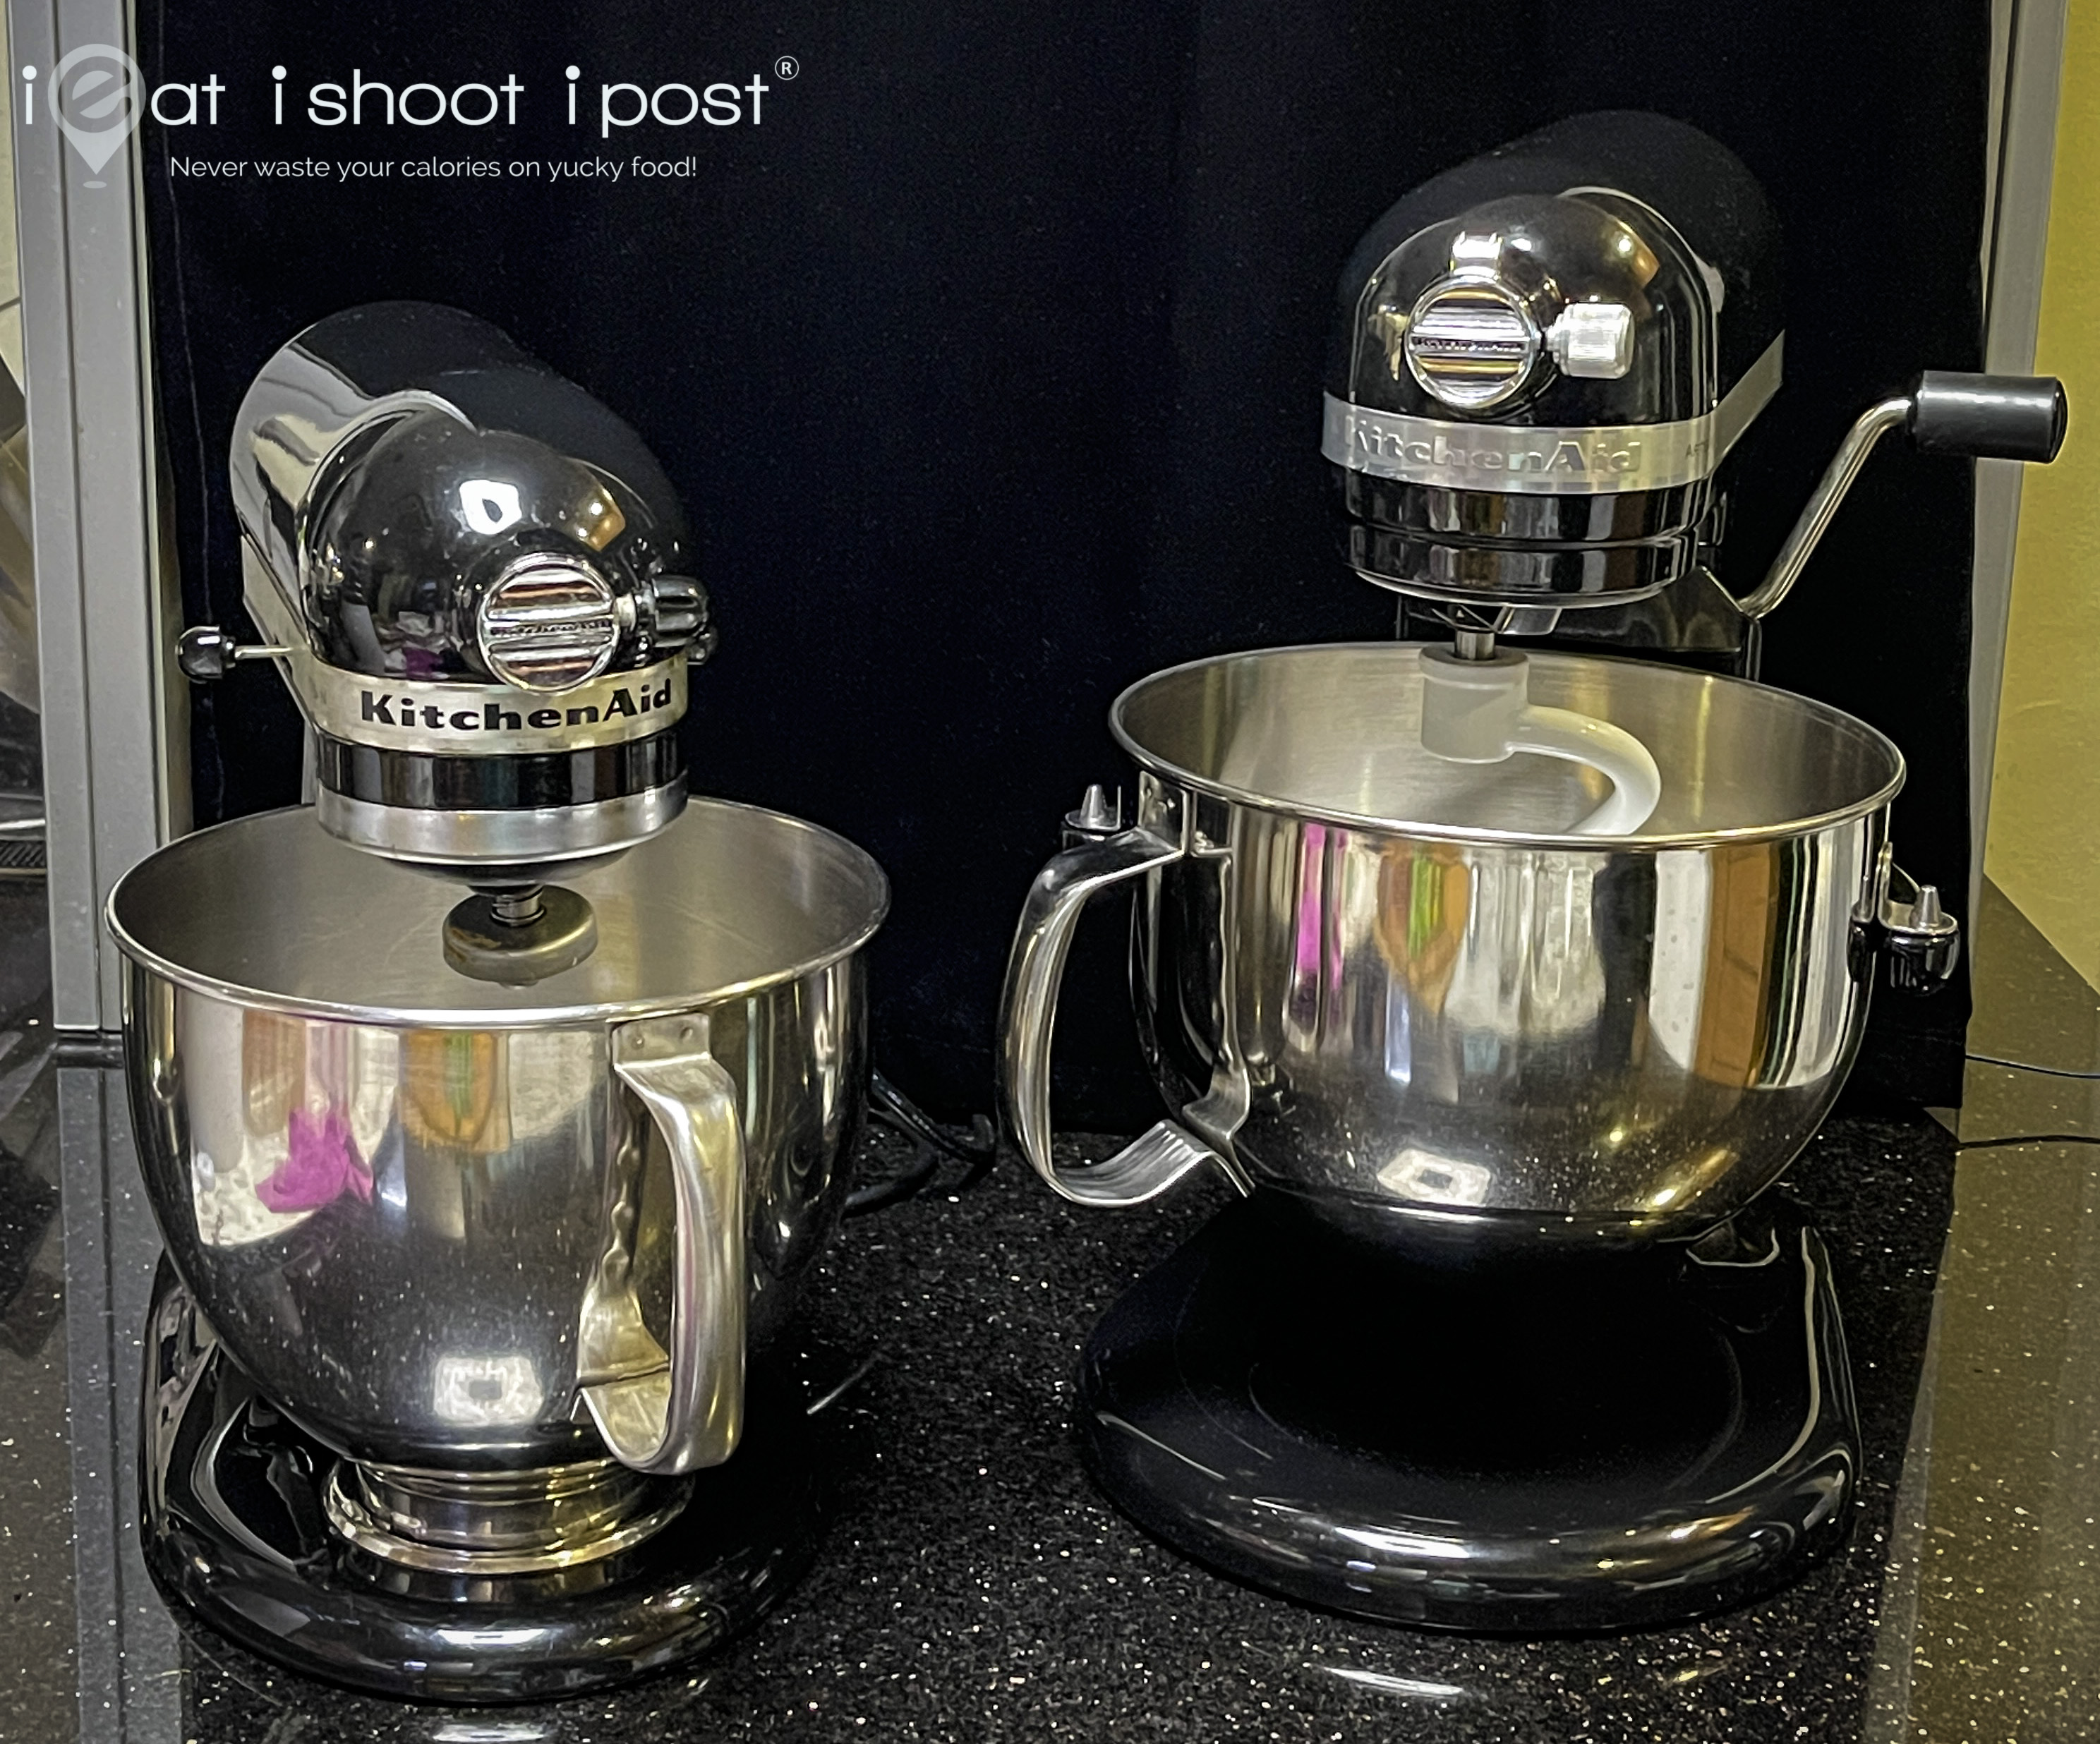
Even though the bowl is bigger, I find that it is still quite convenient when I was experimenting on my banana cake recipe which requires only 3 eggs. It whipped up the 3 eggs very well and I didn’t feel that the bowl was too big. It also handled a 9 egg white meringue really well. With my 5 quart machine, a the top of the meringue rises above the whisk which makes it necessary for me to fold the whites back into the bowl. With the 6 quart machine, it only took up 3/4 of the bowl and it looks like it can easily whip to 12 egg whites! If you are making cookies, the increased capacity also means you can make 40% more cookie dough.
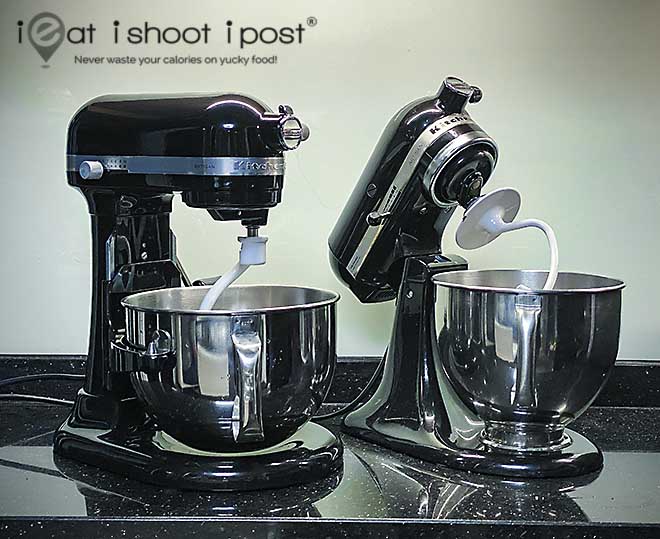
For more information on the
– 5 Quart (4.8L) tilt head stand mixer
– 6 Quart (5.7L) bowl lift stand mixer
Hope you like my Foccacia Recipe and here’s my video:
Equipment used in this recipe:
KitchenAid 2.5 cup Food Chopper
KitchenAid Digital Countertop Oven
KitchenAid 5.7L (6Qt) Bowl Lift Stand Mixer
Foccacia Recipe
Ingredients
Poolish
Breadflour 170g
Water 170g
Instant yeast 1/4 tsp
Leave on kitchen counter overnight
Main dough
Breadflour 400g
Water 160ml
Yeast 6g or 2 tsp
Olive oil 35g
Salt 1.5 tsp
Sugar 1 Tbsp
Rosemary 5g
Black olives 100g
Method
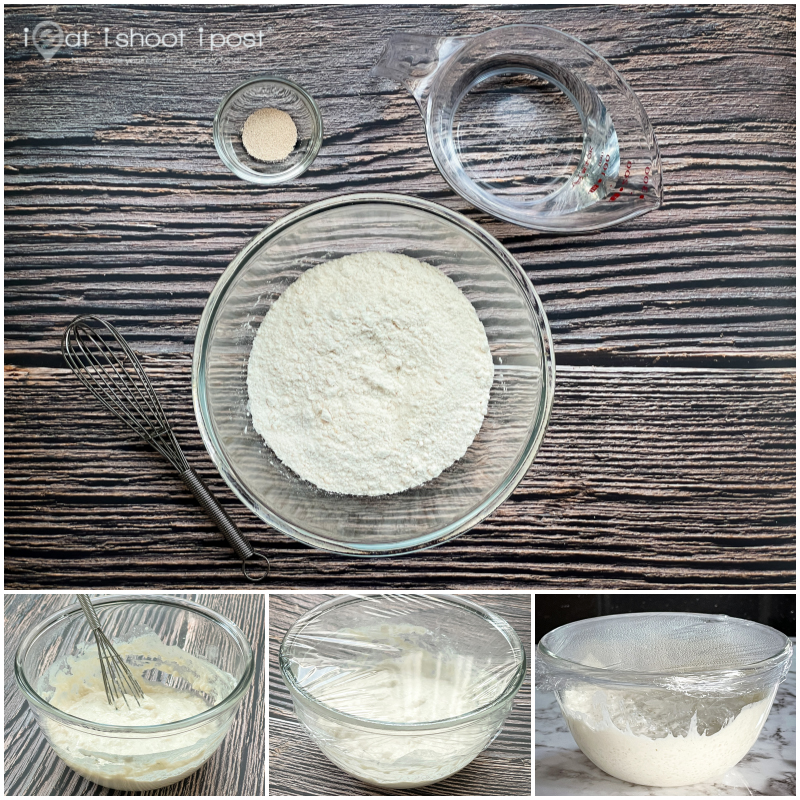
1. Prepare the poolish 12 hrs before baking by mixing the flour, water and instant yeast together. Cover with cling wrap and rest on kitchen counter. (no need to put in fridge)
2. Place flour, salt, sugar and poolish in mixer bowl. Add yeast to water and mix. Add olive oil to the water. Turn on the mixer and slowly add water and olive oil to the dough.
3. Mix for 8 mins until the dough is smooth and stretchy
4. Roughly chop olives and rosemary and add to the dough and mix for another 2 mins until it is well incorporated.
5. Ball the dough, cover with cling wrap and proof for 1 to 1.5 hours or until the dough is tripled in size.
6. Turn dough out on the floured counter. Flatten the dough and press out the excess gas. Fold into thirds one way and then into thirds again the other direction. Turn over and place on oiled 9×13 in pan. Oil top of the dough and rest for 20-30mins.
7. Flatten dough to fit the rectangular pan. Using tips of fingers push down on the dough to the pan. Top with sliced tomatoes and other ingredients and leave to rest for another 20mins.
8. Bake at 200°C for 20-25 mins or until the top is golden brown and the loaf sounds hollow when you tap on the bottom of the pan.
9. Liberally brush the top of the loaf with olive oil while it is still hot and leave to rest.
10. Toast in 180°C oven for 10 mins just before serving.
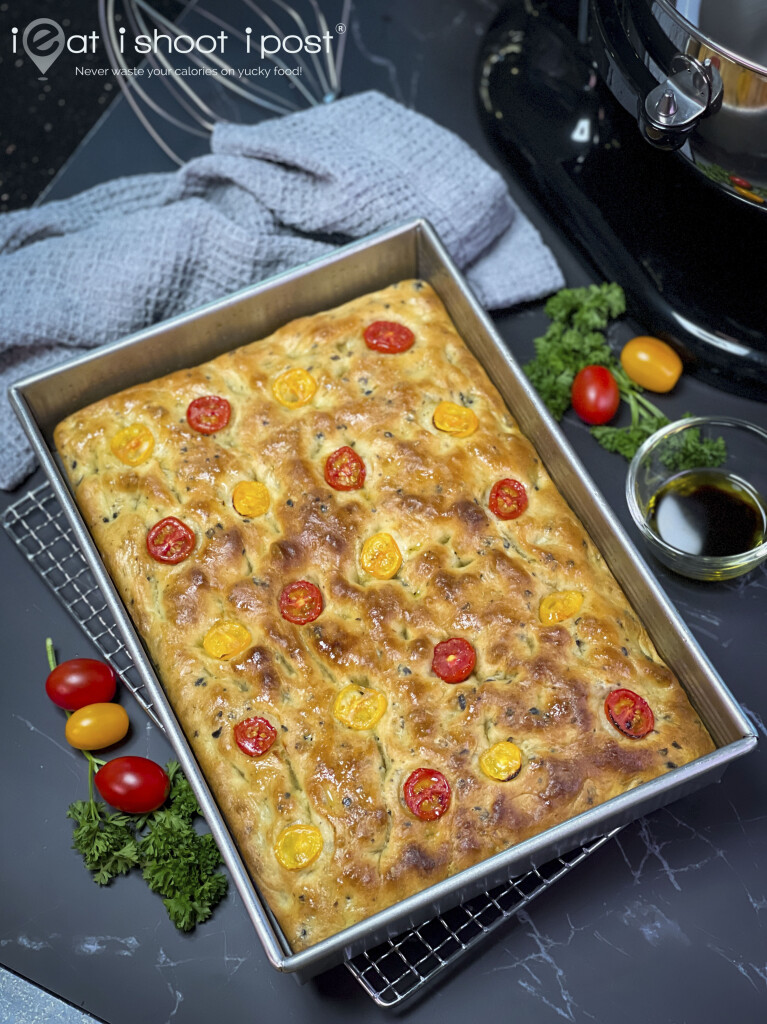
Serving Suggestion:
Simply break the bread and dip in some Extra Virgin Olive Oil and Balsamic Vinegar. Ooo… you are going to love it!
This post is written in partnership with KitchenAid
View KitchenAid store on Lazada – here
Happy Cooking!
Disclosure: Some links above are affiliate links, meaning, at no additional cost to you, we will earn a small commission if you click through and make a purchase.






Hi Dr Leslie, your video indicated to bake at 200degrees but the written recipe says to bake at 225degrees. Can you clarify which is the correct temperature to bake the bread?
Thank you.
It should just be 200 degrees. We’ll update the post. Thanks for checking with us! 🙂
Hi
Love the recipe. Tried it once and it turned out awesome! Thks for sharing. Would like to confirm shd the oven be in fan mode?
Normal top and bottom heating is best for baking breads.
Hi Dr Leslie Tay
May I know the 35g Olive oil is to be added in point no. 6 (oil top of the dough) this part? I can’t find when you added the 35g olive oil. Kindly advise. Thanks so much for sharing. Regards
Monica Lim
Hi Monica, just add it to the water and yeast as seen in the video.
Hi Dr Leslie
Thank you for your reply, will try it soon. Thanks for sharing????
Hey Doc, is it fine if I leave the poolish for a longer period? say 24 hours instead of 12?
Up to 24 hours should be ok
Dr, when you add yeast to the water, is your water luke warm or normal straight from the tap? TQ
Straight from the tap in our climate. If you are living somewhere in winter, then bring the water to normal room temp.
Hi Dr Leslie, for e polish water quality is 170g or 170ml?
Hi Pauline,
Water is 1g/1ml so both are fine
If we leave the poolist overnight or for 24 hrs, leave it on kitchen counter in our Singapore weather or to leave it in the fridge? Thanks.
On the counter.
Tks Dr Leslie Tay for the recipe. Tried it today n my friends n hubby love it v m
Thanks!!
Hi Dr,
May I know the size pan that you’re using for this recipe . Many thanks
Its a 13×9 inch pan.
dont have 13×9 , can use 8×8?
It will be a bit small, you may want to divide the dough into 1/3 and 2/3 and use the 2/3 for the 8×8 and bake the 1/3 separately
Dr Leslie, can you recommend the best Olive Oil you have used for this recipe? I am looking for a good oil for baking. Thank you so much.
The NTUC house brand Extra Virgin Olive Oil is a good balance of price to quality for this purpose.
Hi Doc. If we’re not fans of olives, is it OK to just leave it out, or should it be replaced with something? Thanks.
You can leave it out. BUT, why don’t you just try it first? It might just change your mind towards olives!
Can I use sourdough starter instead of poolish
You can try. I don’t know how it would turn out though.
Thanks Dr Leslie Tay for the focaccia recipe, just baked it, it’s so good. Wish I could send you the photo. Look forward to your sharing on sourdough. Blessings!
Glad you like it!
Thanks for the recipe. Love it!
Glad it worked for you!
Hi Dr Tay, is it possible to half the measurements for the main dough ingredients to make smaller portion OR decrease the amount for the poolish? The last round I followed the recipe exactly and my poor KA mixer (I think mine is 5Quarts) was a little overworked. In regular breads when I used 400g bread flour it’s still fine .. but with the addition of the poolish, I think my mixer labored a little. 🤣😝
TIA!
Sure, you can scale the recipe.
Hi Dr Leslie,
I made this bread following the recipe and it tasted great. However, the bread has a greyish tinge due to the olives and doesn’t look appetizing. I’m wondering if I’ve used the wrong type of olives. Can you share with me which brand of olives you used?
Thanks!
regards
Sarah
Oh, you must have used the dried olives! Try those sliced olives in a can that is in brine.
I did use the pitted olives in a bottle with brine. Did you drain off the liquid first?
Yes, must drain the liquid.
How stretchy will the Dough get? It can’t get to the stretchiness like bread making. It’s smooth but the ball of dough is dense
Its as stretchy as any bread dough.